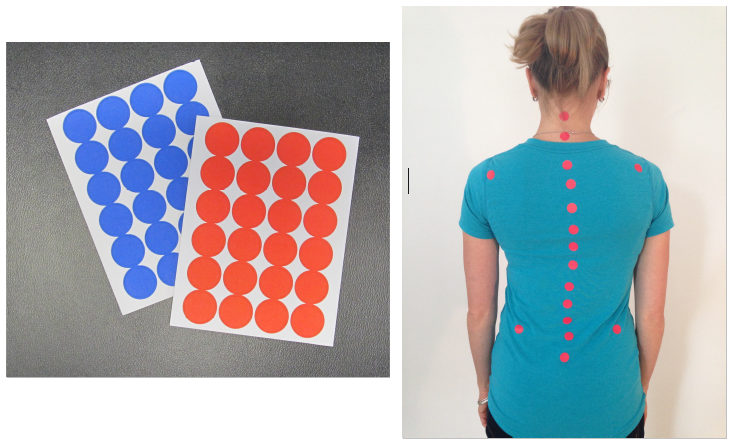
Starting at the top of your client’s neck and going all the way down to their sacrum, place a dot sticker on their spinous process every one to two vertebrae.
Next, put dot stickers on the back of your client’s shoulder blades. You can choose to place them on the lateral spines of the scapulas, the inferior angles of the scapulas, or both. Be careful to place the stickers on the same part of the bones on both sides, even though they may look different.
Then, place flat hands with the palms facing down into your client’s waist to find the top of their ilium, as in the physical assessment. Put a sticker on both sides of the back where the high point of the iliac crest sits. Again, make sure you’re touching the same part of the bones even though the stickers may look uneven.
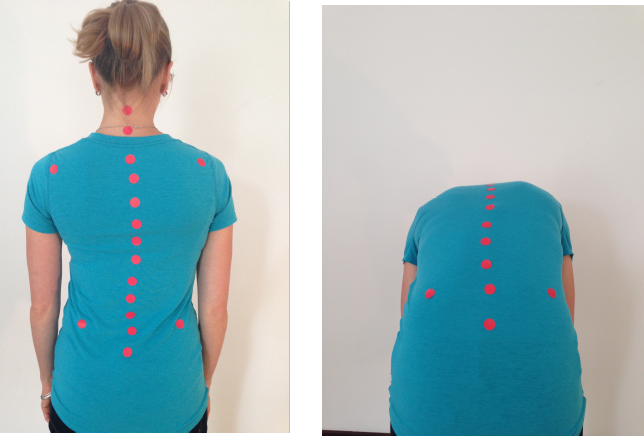
Next, take a photo of the client’s back standing straight up. Then, have your client roll down halfway with their hands reaching to the floor and take another picture. The first picture will show you the curves in your client’s beautiful scoliotic back. The second will show you if their scoliosis has caused any rotation in their spine and/or ribcage.
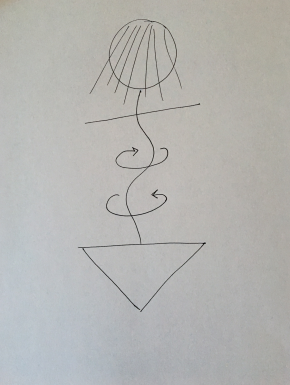
Now that you have a photo and a mental picture of what’s going on in your client’s body, it’s time to draw it to truly make sense of it all. This is not art class, but you do want to make sure you can look back at your drawing and interpret it.
Draw a circle for the head and some straight lines for hair, so you know it’s the back of your client’s body. Looking at your first dot sticker photo, draw the spine, curving it where you see the dot stickers curve. Next, draw a straight line from side-to-side for the shoulders, taking care to draw it at an angle if your client’s shoulder blade dots show that the shoulders are not level.
Go to the hips and draw another straight line for the two ilia dot stickers. Again, draw the line on an angle if your client’s hips are not level in your photos. Finally, draw two lines downward from this one to make a triangle to represent the pelvis.
Now, reference the second dot sticker picture of your client rolling halfway down. This photo will show rotation. If one side of the rib cage is higher than the other in your photo, draw a circle around the part of the body where the rotation happens. This signifies the vertebrae are twisting in a certain direction. There may be more than one rotation, so if that is the case, make sure to draw all the rotations you see.
Looking at the photos above of my spine, here is the diagram I drew and how I got there:
even, so that straight line is not on an angle.
My second photo shows that I have rotation in my ribcage. On my diagram sketch, I drew a big circle in my rib cage around my thoracic spine. The circle goes clockwise to signify that the upper right, posterior ribs are further back in space and my anterior, left ribs are further forward in space. I have an additional rotation in the opposite direction in my lumbar curve, so I drew a circular line that goes counter-clockwise on my lumbar spine.
By no means does this process take the place of an x-ray, but it gives you the same overall picture of what the body is doing. Many scoliosis clients will come without x-rays, but now you can create an image that gives you information on their curves and rotations.
If a client does bring you an x-ray, you can easily see their lateral curves and if their shoulder and hips are even. To look for rotation, notice the placement of the spinous process on each vertebra. In the concave portions of the scoliosis curves, the spinous processes rotate toward the concave side—they rotate into the curves. And you would draw an circle with the arrow pointing the same way.
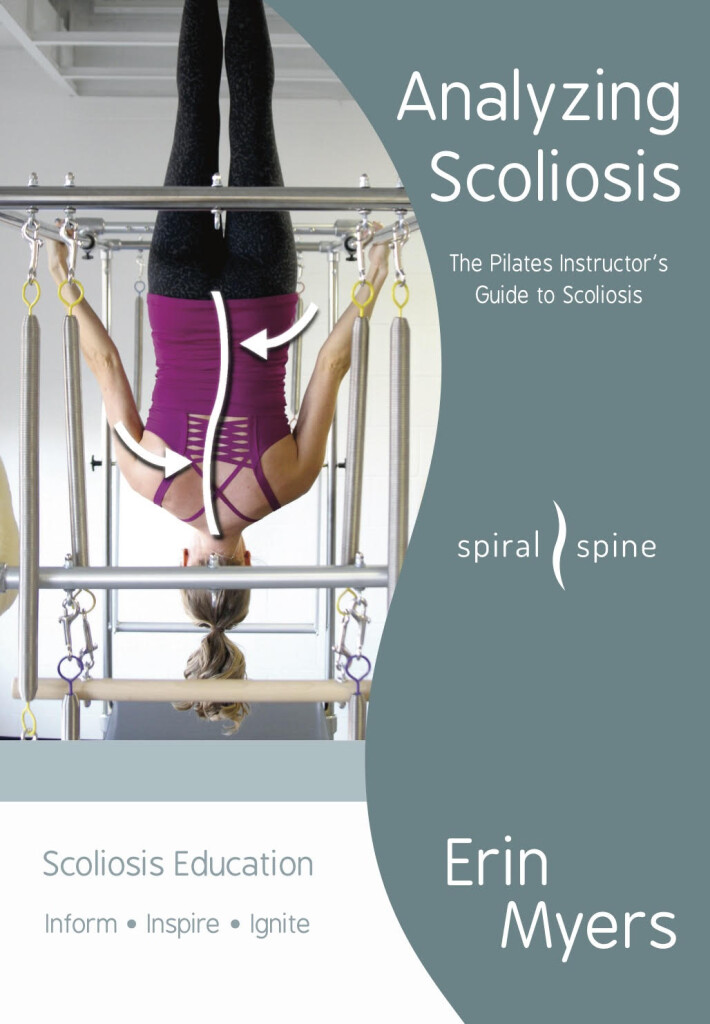
On a final note, when I work with different scoliotic clients in back-to-back lessons and don’t look at their diagram sketches, my mind can easily become jumbled because every scoliotic body is so different. My clients’ different scoliosis curves start to meld together in my mind, so it’s invaluable for me to have a picture of their spine on paper. If you want to read more about how to create scoliosis diagram sketches or learn how to move these clients safely and effectively, check out my latest book,
Analyzing Scoliosis, The Pilates Instructor’s Guide to Scoliosis.