Footwork: “Standing” on the reformer –
by Karena Thek
March 28, 2018
My clients tend to really look forward to footwork on the reformer. They’ve been working hard through the series I’ve given them for the first 15-20 minutes and they are ready for a break. And take a break is exactly what they do. They lie down on the reformer and their bodies ooze “naptime”. Sighhhh….. They allow themselves to be rocked to sleep by the movement of the carriage and the sound of the springs. Ahhh….
Unfortunately, I am now left standing over this somnolent being, trying to coax out a modicum of vitality.
The sleepy-time solution
As it always is, the solution was given to me by a client. This solution came via an 84-year-old gentleman with scoliosis. He uses a walker but wants to be without his walker. We practiced standing using the walker as an assistive tool, and we practiced standing with elongation and we practiced standing elongation with small arm movements. The problem is that standing is exhausting for him. By the time we get to the arm movements, his form is falling apart. It was not a viable solution. I had to find a way for my client to “stand” for longer periods of time so that he could make the neuro-muscular changes necessary to stand for longer periods of time without the walker.
Enter the Reformer
My solution to the standing problem was to have him “stand” on the reformer. “Stand” is in quotes because his position on the reformer is supine — yep, flat on his back — and it looks similar to our regular ol’ footwork on the reformer. Here’s how I teach it:
- I start with standing corrections in a standing position. I make sure the client’s weight is balanced and alignment from the toes to the top of the head is correct. As the alignment is corrected, proper tone emerges throughout the entire body. I tell my clients to think of standing as a “ready” position, not a “resting in the joints” position.
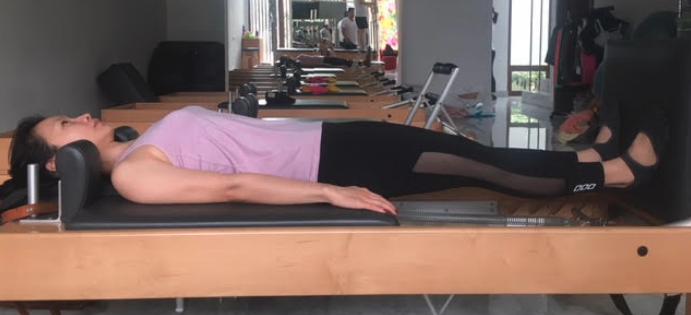
- Next, I tell them that we are now going to “stand” while lying down. They lie down on the reformer and we get to work on “standing”.
- I use the jump-board instead of the foot bar so they can more easily simulate “standing”. When they stretch their legs out to the “standing” position, I like their heels to be in line with their hips the same way they would be if they were standing upright against gravity. This helps to engage the muscles along the posterior side of the body from the calf muscles to the hamstrings, gluteals and spine muscles. I like that.
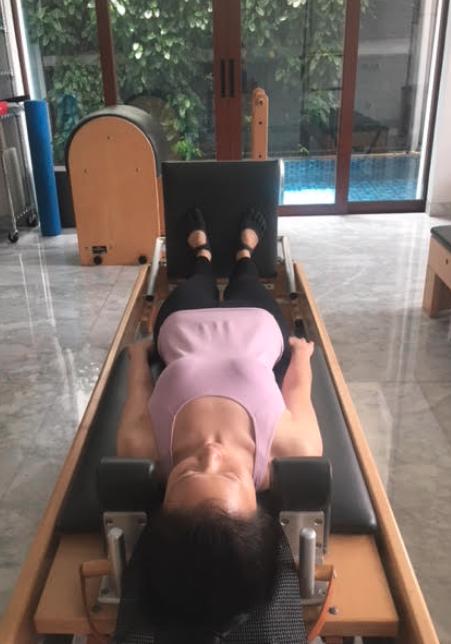
- Next, we practice small knee bends. They are allowed to bend their knees as much as they can, following one rule: Don’t change the shape of your torso, particularly the lumbopelvic junction which, as you know, likes to give the reformer a warm hug as the knees bend. No warm hugs! At least not until after the exercise. Haha! So, we start small, and as they are able to maintain a nice neutral “standing” position, they then move on to a full leg press.
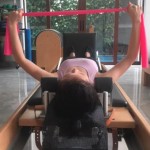
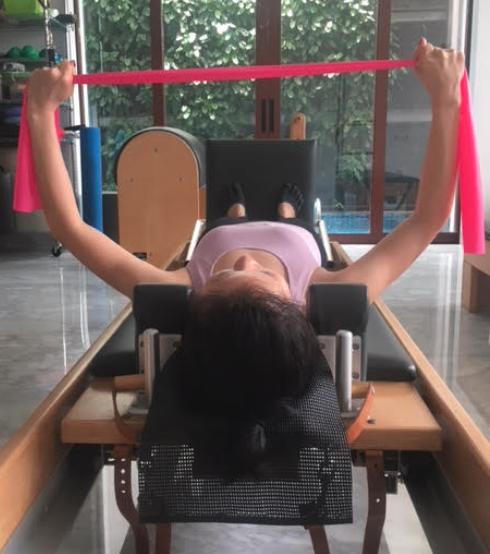
- Once we have completed footwork, we add arm work from this “standing” position. I ask my client to stretch their legs to the “standing” position and to maintain their “ready” position. I add springs or bands from behind their head (via a wall unit, or me holding a band). Now they can move their arms and practice their best “standing” alignment—all while lying down.
Now, with the use of the reformer, my client who gets easily fatigued standing vs. gravity is “standing” in great alignment for 15-20 minutes, or longer. And over the weeks, that translates to increased strength that is available for standing vs. gravity. All the neuromuscular connections are there and on fire in supine since we are focusing on a “standing” alignment. In addition, instead of starting out with a compressive force as great as gravity, we can gauge the compressive force by adding and removing springs. I add springs until I see the “standing” alignment begin to falter. Next, we move the same position, same patterning and same alignment to standing vs. gravity and we have a much better chance of success as the client becomes stronger and stronger.
This exercise started as a solution for a client who was having trouble maintaining a standing position. However, it has become my preferred way of teaching footwork. I see a better engagement and tone of musculature along the front and back lines of my clients’ bodies. I see better organization of the patterning of hip flexion and extension as it is coupled with the lumbopelvic region. I see a more thoughtful process from my clients as they are engaged to push into, and maintain, “standing”. Most importantly, I don’t see that slip towards somnolence. Everyone is awake! And everything is more awake: Mind and Body. That works. I like it.
Studio credit to Re:formation studio in Jakarta owned by Lucy Agus. Model is melda Alianto
 Karena Thek is a Pilates Instructor with a passion for managing pathologies in the Pilates setting as well as disseminating information for those who are ready to change. Her work has led her to author OsteoPilates, Increase Bone Density, Reduce Fracture Risk, Look and Feel Great! (2003) and Scolio-Pilates, Exercise for Scoliosis, A Pro-Active Guide (2011). In addition to her books, she has numerous webinars and free YouTube videos on the topics that she teaches. Karena is the host of a women’s health talk radio show, Alive & Well Radio on AM1220 KHTS. You can listen live from anywhere on the planet at www.hometownstation.com. She previously hosted Pilates for Healthy Bodies on PBS (2009-2011). And when she’s not teaching, writing or thinking about Pilates? You can find her on Facebook and Twitter posting pics of daily adventures with her partner John and their furry little child, Gus T. Basset Hound. Learn more at osteopilates.com