Issue #481
Wednesday, February 25, 2026
Backbend on the Reformer
Part 3
The Real Back Bend
by Brett Miller
As you know, I think that bending backward is a great contributor to keeping the spine young, which in turn keeps YOU young and healthy.
This is the third in a series of articles where I’ll break down the Backbend on the Reformer as I teach it. Today, we will be doing the actual backbend. Most of today’s instructions are a repeat of last week, so if you want to skip down to the ‘new part’, I won’t be mad.
Prepare the Reformer by putting the foot bar in a low/middle position. I put on quite a heavy amount of springs (on my Stott Reformer, I use 2 red (full strength) springs).
Mount the reformer by standing on your knees facing the back of the reformer, your knees should be pressing against the shoulder rests.
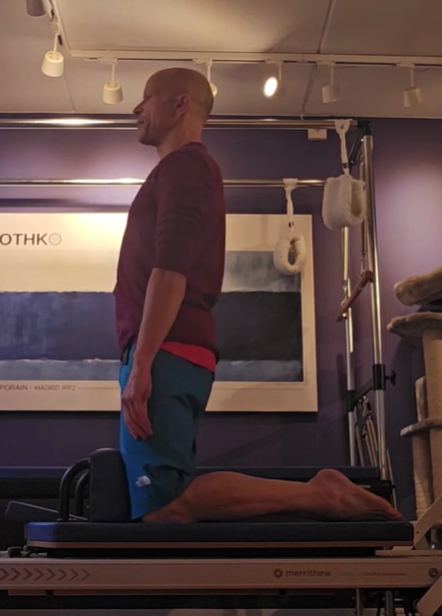
Extend your arm forward from your body, palm facing up.
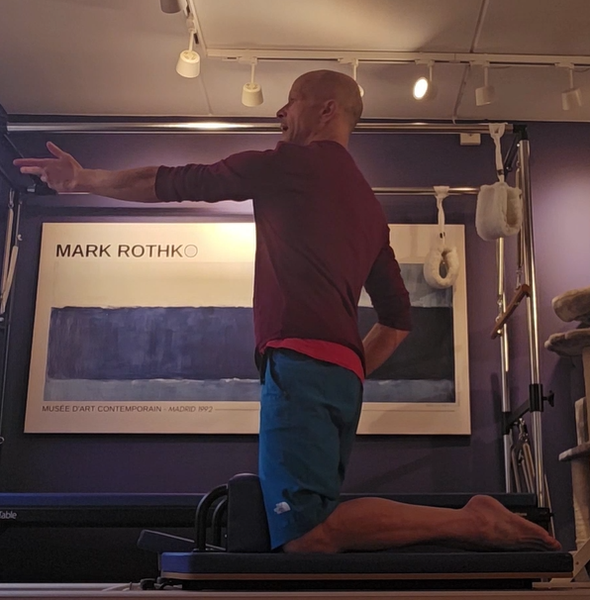
While maintaining that upright length, twist slowly to that side. Notice how wide your back feels here.
Push your hips slightly forward to enter a small backbend. Reach back and grip the footbar from underneath (this is why we started with the palm up). Your hand should now be positioned underneath the footbar.
Keep your arm straight and push the carriage out by pressing your knees against the shoulder rests.

As the carriage moves, lower your hips as much as possible—aiming to bring your “bum” down between your heels.
Stretch, lengthen, and get as low as you can.
So far, this has been a review – now, here comes the new!!
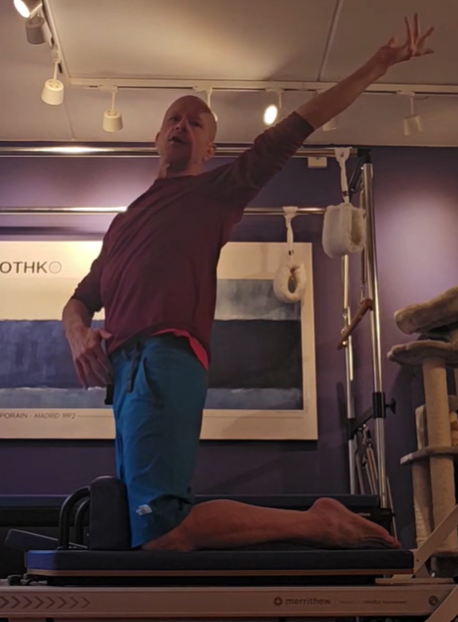
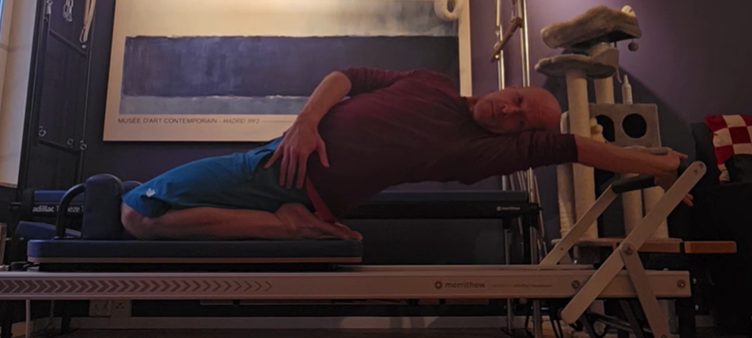
Now, what I’m going to do is I’m going to take my free shoulder back towards the floor so that my entire back is parallel to the floor.

So, now I’m looking up to the ceiling and my chest is up to the ceiling. I reach back and put my other hand on the foot bar, and look back to the footbar.
Now what I’m going to do is I’m going to look back and lift my hips and let the springs pull the carriage in.

And I go into a back bend. Keep your arms stretched.
That is a very important detail, when going into the backbend, you need to RELAX your body, and allow the Reformer to work for you!
That is not easy, but with practice and patience it will happen.
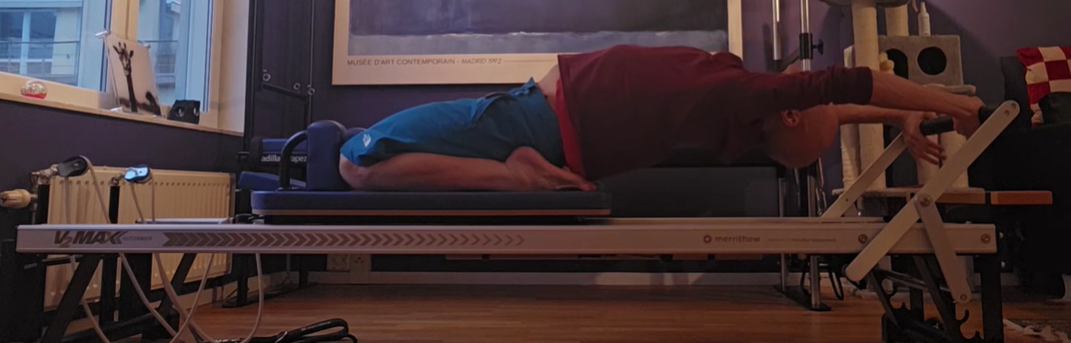
When you have reached your maximum backbend, look forward and push your hips down toward the carriage and the knees will push the carriage away.
Push your bum down a lot. Really get flat.
What a challenge, and what a healthy back you are promoting! Let’s keep going!
Look back, lift your hips, stretch your arms and let the carriage come in.
Look forward and push your hips down toward the carriage and the knees will push the carriage away – get really flat.
And again, lift your hips go into the back bend.
And again, push your hips down and get really flat.
5 or 6 reps will do…and now we come out of it in the same manner we learned last time. End your reps in the down position.
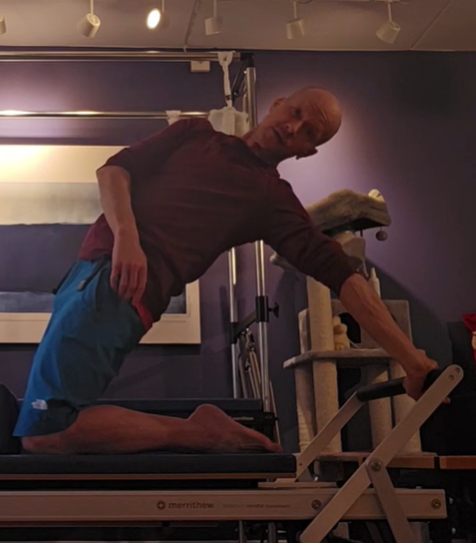
Let go of the footbar with one hand and turn your body to one side.

Keep your arm stretched and your head back.

Ok, the carriage is all the way in now, let’s finish up.
Release the bar and let the hips lead you forward.
Follow with the chest coming upright, and finally, the head floats up last to rest on top of that beautiful, aligned spine.

And now you are ready for the other side.
This is a tough exercise that is very good for you and your stronger clients.
A FINAL REMINDER – RELAX your body, and allow the Reformer to work for you!
Give it a try and let me know how it goes!
Here is a video demonstration!
Brett Miller is the founder of Pilates Intel, he started his professional life in the world of ballet, working with various companies in the US. Later on he moved to New York and branched out into modern along with the ballet. Since then, he has lived in Finland and now in Stockholm Sweden.
Brett became a Pilates instructor in 2005 and has been teaching ever since. The intelligent technique that Pilates is, and the chance to continue to be physical, attracted him to this field after being so long in the dance world.